Search This Blog

Sunday, April 27, 2014

Something new for Easter dinner - Pork Shoulder Roast


Easter dinner usually consists of ham, a few vegetables, and pan-roasted potatoes in our house.  This year I wanted to try something new, almost an adventure in pork, and decided to try a pork shoulder.  I have to tell you, when I unwrapped my roast, I was taken back a little.  This thing was huge!  It was all tied up and covered in a layer of fat.  I remembered what the butcher told me....the fat is a good thing...so I left it alone and covered the meat with a mixture of salt, pepper, onion powder, and garlic powder.  I wrapped it back up and left it in the fridge so the seasonings could do their thing over night.  First thing in the morning, it is time to make the herb sauce that will cover the roast.

You will need the following (use fresh herbs):

about 20 sage leaves
3 sprigs of rosemary leaves, stem removed
4 cloves of garlic
1 ½ tsp each of sea salt and pepper
2 tbs olive oil
½ cup of dry white wine


Blend together the sage, rosemary, garlic, salt and pepper, and olive oil.  With a sharp knife, make deep cuts randomly over the top of the roast and leaving the knife blade inserted, pour a small amount of the mixture so it flows down the blade, into the cut.  Spread the rest of the mixture over the entire roast.  Now, I know anything that looks green does not look appetizing, but believe me, when this is finished cooking, it comes out beautifully golden brown.


Heat the oven to 250 degrees.  Set the roast in a roasting pan, fat-side up.  Roast for 2 hours.  Then pour the ½ cup of white wine over the pork and baste with the wine and juices.  Continue roasting, basting once every hour until the skin is well-browned and the meat registers between 170-180 degrees Fahrenheit.  For a 4 pound roast, it should be another 2-3 hours.  My roast weighed over 6 pounds, and was in the oven for a total of about 6 hours!


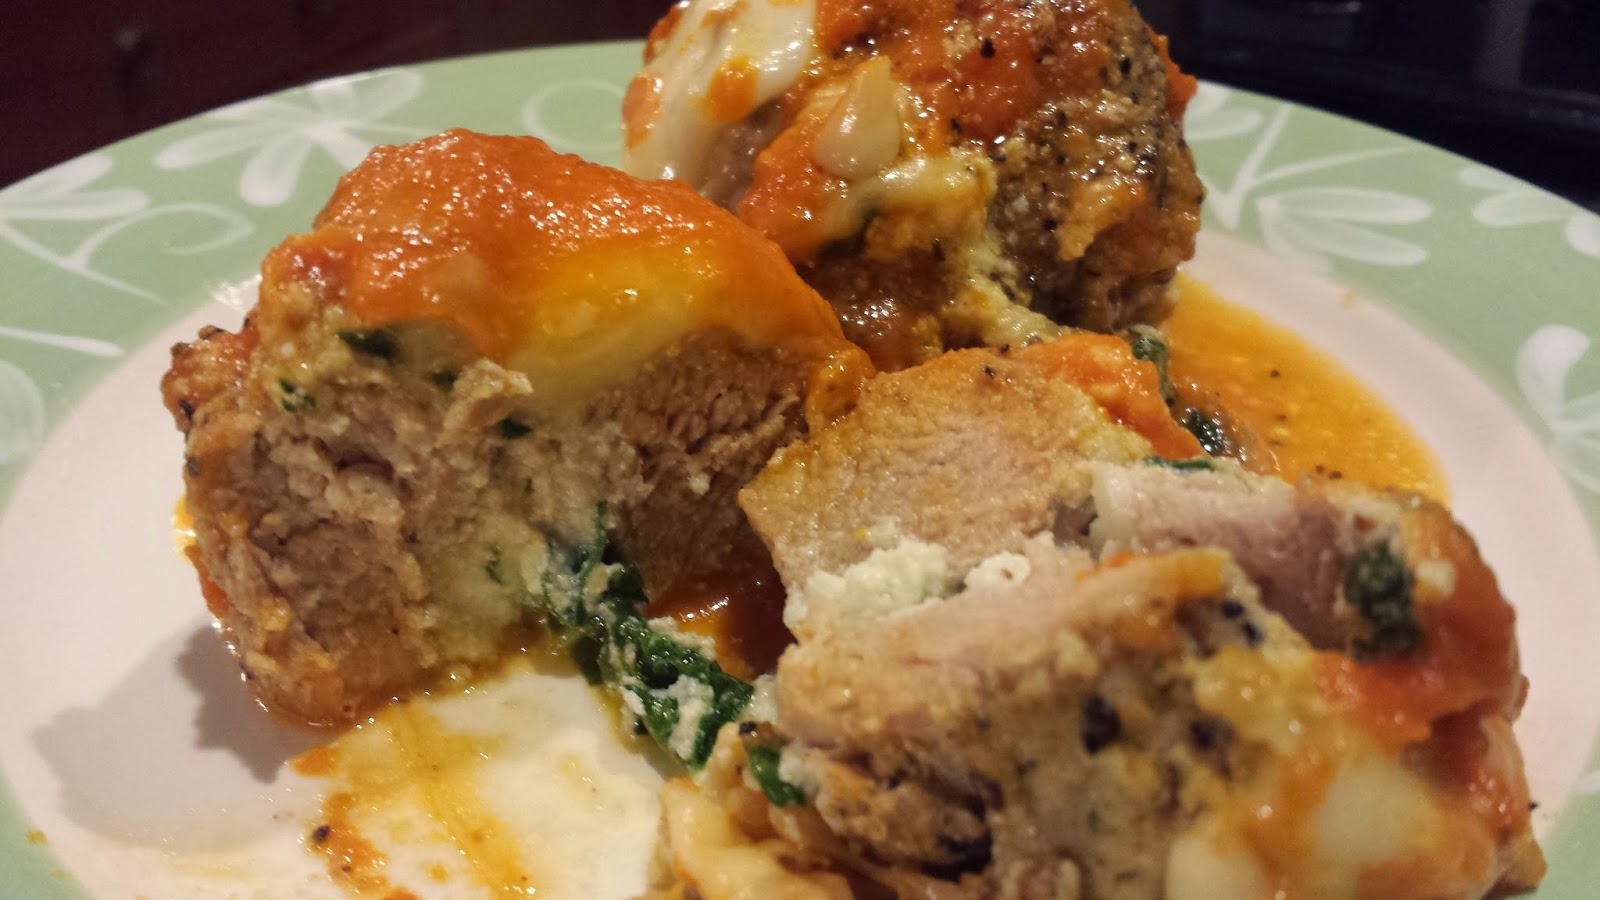
 This came out so juicy and tender, and the flavors of all the herbs cooked into the roast were delicious..... and no more green!


Saturday, April 26, 2014

Eggplant Lasagna


I love making and eating lasagna...having said that, I also love to try new and different ideas and this was definitely new and different.  There are basically three separate steps to putting this together.  The first step is cooking the eggplant.  I used two medium-sized eggplant and kept the slices whole instead of cutting them in half.  Once you have the eggplant cooked, move on to step two, the ricotta filling.  Here are the ingredients you will need:

1 tub of ricotta
fresh chopped parsley
garlic powder
onion powder
salt and pepper
dried chopped onion
Parmesan cheese

As you can see, I don't list measurements because the filling is something you need to keep tasting.  If I had to guess, I'd say I added about ½ tsp of the garlic and onion, probably ½ cup of chopped parsley and about a cup of Parmesan cheese.  Once it is all mixed together, try it to make sure you taste all the flavors.  If not, add more!  Now for step 3....building the lasagna.  Feel free to use whatever sauce you would like.  I used my old standby sauce which I have included below.


Simmer 1 can of stewed tomatoes, 1 stick of butter and 1/2 - 1 whole Vidalia onion for about 30 minutes.  When the onion is nice and tender, use a hand blender and puree.  Add salt and pepper to taste along with some Parmesan cheese.  That is it!  Pure tomato flavor....


Begin by covering the bottom of your pan with sauce.  Place a layer of eggplant over the sauce.  Add spoonfuls of ricotta, the sprinkle with any blend of shredded cheese.  Top with sauce, then repeat the layers.


I like to end with some of the ricotta exposed on top.  Bake in a 350 degree oven for 30-45 minutes.  Depending on how thick the lasagna is, you might need to cook it longer (check with an instant-read thermometer to make sure it is hot all the way through).  If you need to cook it longer, cover with a piece of foil to prevent the top from drying out.


It looks really nice when it cooks!


Friday, April 18, 2014

Individual pork tenderloin lasagnas


So far I have made eggplant lasagna, zucchini lasagna, lasagna cupcakes, and seafood lasagna.  I had an idea of using pork tenderloin, pounded thin and stuffed with a ricotta filling.  As I looked at it, I thought why not pork lasagna?  Roll it up, slice it, brown it, and bake it with sauce and grated cheese on top.... Little mini lasagnas!

These were a tad labor-intensive, but were so delicious it didn't seem to matter.

For the stuffing, you need the following:

ricotta cheese
chopped fresh spinach
salt and pepper
approx. 1 Tsp basil
a few sprinkles of dried onion
Parmesan cheese
 
Blend and set aside
 
Prepare the tenderloins by butterflying them and pound with a meat mallet.  Try to get them as thin as possible.


Spread a layer of cheese stuffing and roll up lengthwise.  Slice into 1 inch rolls and tie each one up so they won't unroll.  Sprinkle some Montreal Steak seasoning on a plate and sparsely coat the outside of the pork rolls.  Using a fry pan, heat up a little olive oil and brown the rolls. 


Place them in a low casserole dish and ladle your favorite tomato sauce over the tops.  Sprinkle with some grated cheese and bake in a 350 degree oven for 15-20 minutes.


As you can see, they come out great....just don't forget to cut the string off before serving them!


Shrimp Scampi with Avocado a la mode

 
This is one of those meals that always tastes delicious and yet I found something that makes it even better.....avocado!  I have made dishes before where I have incorporated avocado, but usually within about 10 minutes of completing it, the avocado starts to turn dark, which doesn't look very appetizing!  By placing the avocado on top as a garnish, the problem was solved.  Also, this is not as oily as some scampi recipes can be, which is a good thing.
 
The ingredients are very simple:
 
1 lb of pasta
2 Tbs butter
1 bag of small salad shrimp
3 cloves of garlic
 red pepper flakes to taste
1/4 cup white wine
 1 Tsp lemon zest
Salt and Pepper to taste
lots of fresh chopped parsley
Parmesan cheese
Sliced avocado


I started out by chopping my parsley and garlic and zest the lemon rind.  Next I needed to thaw the shrimp.  While that was going on, I boiled the water and cooked the pasta.  As soon as I drain the water out, I add the chopped garlic to the pasta.  I find that the heat from the hot pasta cooks the garlic just enough.
 
All that is left is to combine everything.  I use my large fry pan and add a little olive oil.  Over medium high heat, I quickly sauté the shrimp with a little salt and pepper and crushed red pepper.  Turn off the heat and add the pasta, parsley, white wine, and stir.  The last thing to add is the cheese and taste.


Scoop into serving bowls and top with slices of avocado.


Sunday, April 13, 2014

Oatmeal Chocolate Chip Cookies with a Secret Ingredient...


I have really started to like the flavors of salty and sweet together, and wondered if it would be possible to make a cookie incorporating those flavors.  My secret ingredient was pretzels!  I was thrilled with how these came out and hope you will be too.

Here are the ingredients:

1 cup flour
¼ teaspoon baking soda
¼ teaspoon kosher salt
6 tablespoons butter, melted
½ cup packed brown sugar
¼ cup granulated sugar
1 ½ teaspoons vanilla
1 egg
½ cup semisweet chocolate chips
½ cup oatmeal
⅓ cup pretzels, broken into pieces


Begin by pre-heating the oven to 325 degrees.  You can either use a silicone mat or grease your cookie sheet.

Combine the dry ingredients into a small bowl and set aside.  In your mixer, combine the melted butter, and both the brown and white sugars and blend until creamy.  Next, add the egg and vanilla.  Once everything is well-blended, mix in the dry ingredients, just until blended.  Try not to over-beat the dough.

  
Remove the mixing bowl from the mixer and gently stir in the pretzels, oatmeal and chocolate chips.  Drop spoonfuls of cookie dough on your prepared cookie sheet and flatten slightly.  Bake for 11-12 minutes, then cool on a wire rack.


All that's left is to eat them!


Friday, April 4, 2014

Roasted Vegetable Risotto


Have you ever had a craving for something and just needed a little direction?  I love roasted vegetables, and haven't had risotto in a long time, and thought it might be a good combination.  I did a Google search to get an idea of what other people thought of this, but all the recipes sounded alike, and I had something different in mind.

The ingredient list is very short:

butternut squash
1 Vidalia onion
1 bunch of Asparagus
2 handfuls of small carrots, cut lengthwise
Fresh thyme
salt and pepper


I began by cooking the risotto.  Sautee in a small amount of butter for about 5 minutes before adding the chicken broth, one cup at a time.  Stir until the broth is absorbed, before adding more.  Once you are done, turn off the heat, cover the pan and begin roasting the vegetables.


Pre-heat the oven to 450 degrees.  Coat all of the vegetables with a little olive oil and salt and pepper.  I used a separate pan to roast the onion, asparagus, and carrots. Feel free to use what ever vegetables you have on hand.

Once the vegetables are done, sprinkle with salt and pepper, chopped fresh parsley and thyme. 


The only thing left is to combine the vegetables with the risotto.  Taste to make sure you have added enough seasoning.  Scatter the top with a little feta cheese.


Wednesday, April 2, 2014

SImple and Delicious Chicken Parmigiana


I have made chicken parmigiana basically two ways.  One is making a batter, coating the chicken and browning it in a pan with some olive oil and butter.  The other way is by coating the chicken with a breadcrumb mixture and browning the same way.

Tonight I decided to try something a bit different.  I had three bowls for dipping.  The first bowl had just flour, probably a cupful.

The second bowl had 2 eggs and 2 tbs of Dijon mustard beaten together.

The third bowl had a combination of Panko breadcrumbs and some Italian-seasoned wheat breadcrumbs (about 2 cups each), 1 cup of Parmesan cheese, salt and pepper.


I began by pounding the chicken breasts so that they were an even thickness.  After drying them off, I dredged them in the flour first.  Then an egg wash, followed by the Panko crumb mixture.  I made sure I pressed down on the crumbs so that there was a nice thick coating.


I browned them in a pan with some olive oil and maybe a tablespoon of butter, about 5-10 minutes on each side.  Have a paper towel nearby to drain them on.


The last step was to arrange the chicken in a casserole dish.  I had some shaved Parmesan and Asiago cheeses and covered each breast. 


Spoon your favorite pasta sauce over the top, followed by some shredded cheese (whatever you have on hand).  Pop into a pre-heated 375 degree oven and cook for about 20 minutes or so, until the cheese is nicely melted. 


Remove from the oven and let rest for about 10 minutes,


While the chicken is cooking in the oven, I cooked up a little pasta to have on the side.  Just before serving, I added some fresh chopped parsley.  This whole meal took just about an hour to make.  I'm not sure if it was the Dijon mustard in egg that made it taste so delicious, but I have to say every bite was amazing!  And, the chicken had a nice crunchy coating on it.